Complete Labeling Guide
Master the art of clear, effective freezer labeling
Why Labeling Matters
Proper labeling is the single most important habit for freezer organization. Without labels, you're left guessing what items are and when they were frozen.
Good labeling eliminates mystery containers, reduces food waste, and makes meal planning effortless. It takes just seconds per item but saves minutes every time you open your freezer.
Essential Information to Include
Every freezer label should contain three critical pieces of information:
- Contents: Clearly describe what's inside. Be specific - "Chicken curry" is better than "dinner" and "Bolognese sauce - beef" is better than "red sauce"
- Date frozen: Always include the date you froze the item. Use DD/MM/YYYY format for clarity
- Quantity/servings: Note how many portions or the weight. "Serves 4" or "500g" helps with meal planning
Perfect Label Example:
Frozen: 15/01/2026
Serves: 4 adults
Reheat: Microwave 8-10 mins
Pro Tip:
Consider adding reheating instructions for prepared meals. Your future self will thank you when you're tired and hungry.
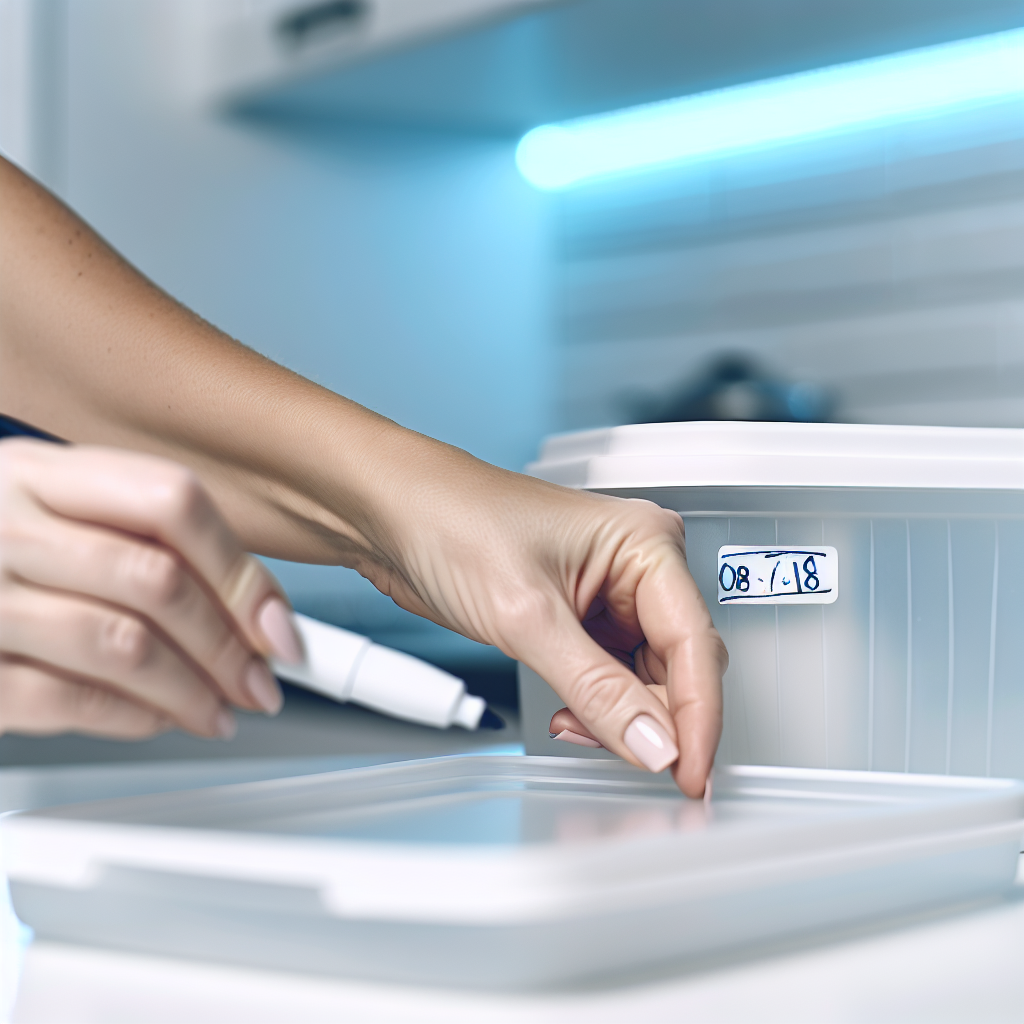
Best Labeling Materials
Permanent Markers
The simplest solution for containers you won't reuse. Permanent markers work well on masking tape or directly on disposable containers. Choose alcohol-based markers that won't smudge in freezer conditions.
Freezer Tape
Designed specifically for cold conditions, freezer tape stays adhesive at low temperatures. Regular tape often fails in the freezer. Write on the tape before applying for best results.
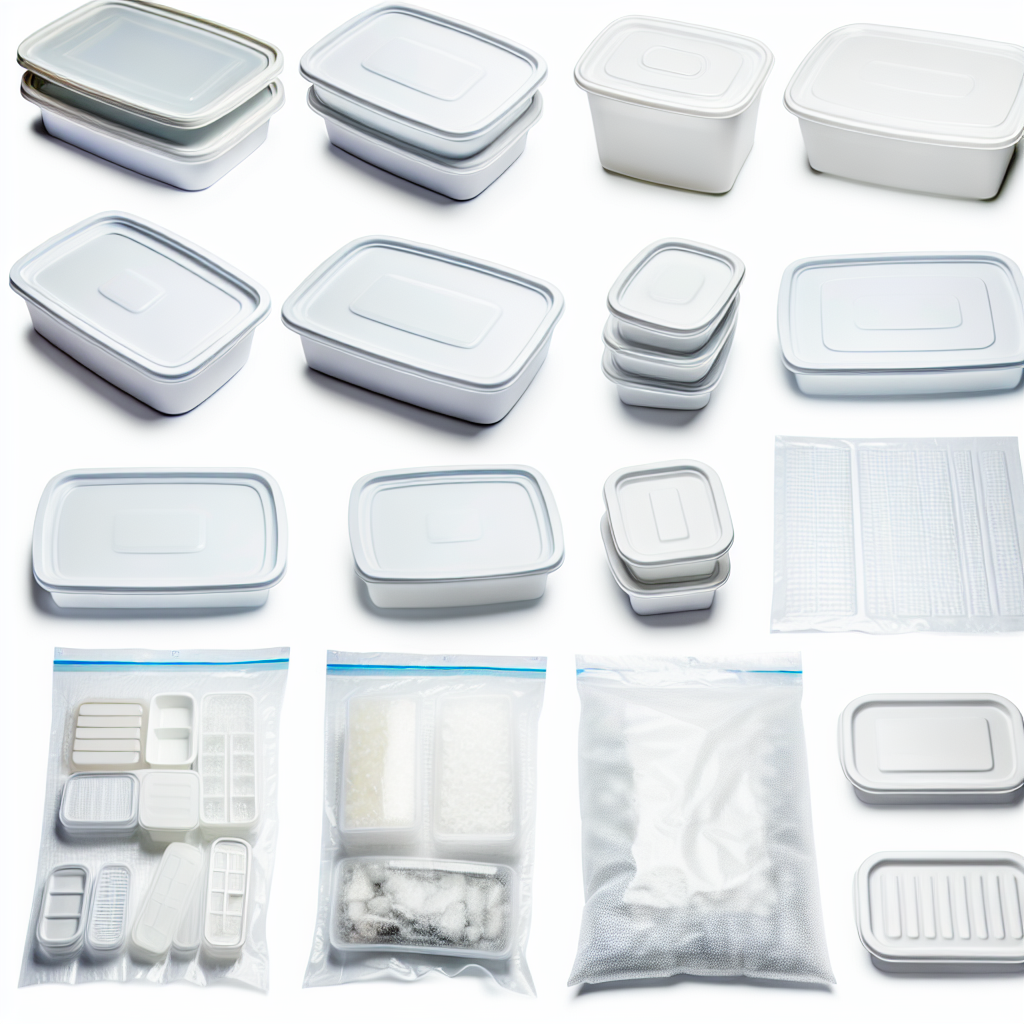
Reusable Labels
For containers you'll use repeatedly, invest in reusable labels. Dry-erase labels or chalkboard-style labels can be wiped clean and relabeled. Perfect for glass containers and quality storage boxes.
Label Maker
If you freeze items regularly, a label maker creates professional, easy-to-read labels. Choose one with freezer-safe label cartridges for best adhesion.
Color-Coding Systems
Take your labeling to the next level with color coding. This visual system makes finding items even faster.
- Blue labels: Raw meats and fish
- Green labels: Vegetables and plant-based items
- Red labels: Cooked meals and leftovers
- Yellow labels: Fruits and desserts
Choose a system that makes sense for your household. The goal is quick visual identification without reading every label.
Quick Labeling Workflow
Make labeling automatic with this efficient process:
- 1 Keep labeling supplies near your freezer - markers, tape, and labels should be within arm's reach
- 2 Label items before freezing, not after. Once frozen, containers are cold and less convenient to write on
- 3 Use abbreviations if needed: "Fz" for frozen, "Ckd" for cooked, "Rh 10m" for reheat 10 minutes
- 4 Place labels on the front or top of containers where they're immediately visible
Digital Tracking Integration
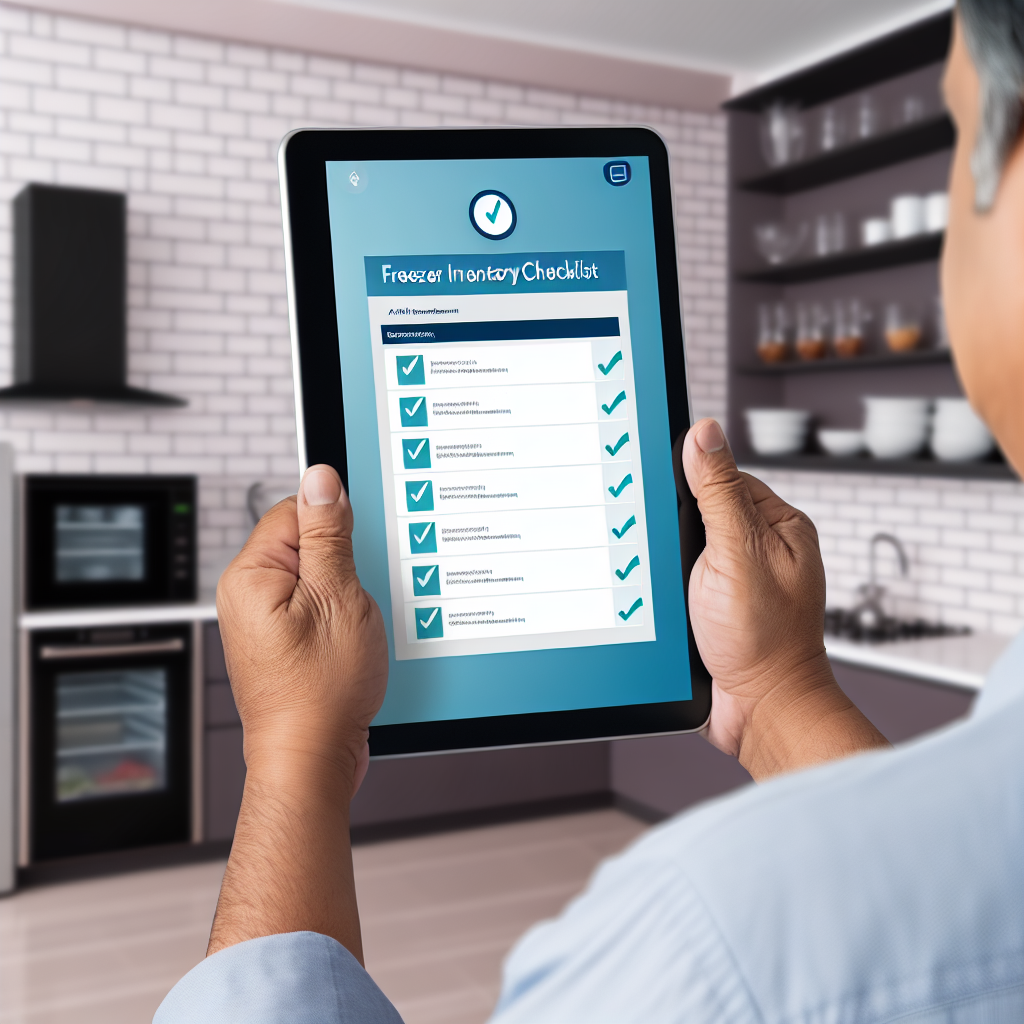
For those who want to take labeling further, consider digital tracking alongside physical labels:
- Use a notes app on your phone to maintain a freezer inventory list
- Update the list when you add or remove items
- Include expiry dates to know what needs using soon
- Share the list with family members for coordinated meal planning
Remember:
Digital tracking is supplementary, not a replacement for physical labels. You still need labels on each container for quick identification.
Common Labeling Mistakes to Avoid
- Vague descriptions: "Soup" tells you nothing. "Tomato basil soup - vegetarian" is much better
- Using regular tape: It will fall off in freezer conditions. Always use freezer tape
- Writing too small: Make labels easy to read without pulling containers out
- Forgetting the date: The date frozen is crucial for food safety and rotation
- Label placement: Don't place labels where they'll be covered by other containers